Thursday, 22 September 2016
HA3 - Task 5 Evaluation
First of all, my research was focused mostly in Pirates of the Caribbean, this made me slightly biased in within that style.
The research in general went really good, I had a wide range of examples, from realistic examples (Jack Sparrow - Johnny Depp), Anime (Smoker - One Piece) and different 3D Animation examples.
Exploration stage was okay overall, had different types of style which included a variety of props and character options. I really liked the character exploration stage as I created 2 possible options.
One thing I really did not enjoy and I do not like was my exploration for environment. I am not saying it was bad, but it could have been better. They were okay but maybe too simple even though it was exploration.
The flintlock pistol, cutlass and the card design that I created could have been better but I am really happy with the design and how they ended. They could have been better in some ways, the cutlass could look more realistic by adding a it of shading.
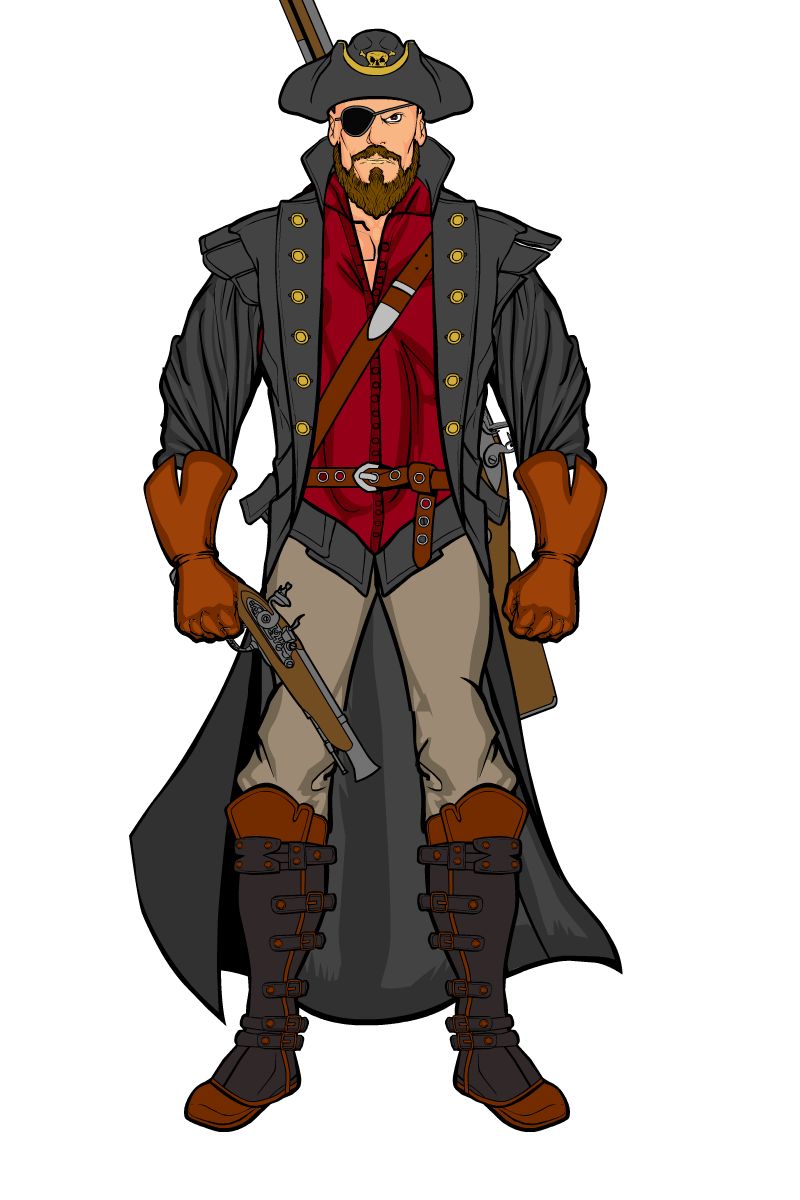
For Promotion stage, overall, the character was appealing and well designed, face features could have been better, body features are okay and in my opinion the clothing is pretty well designed.
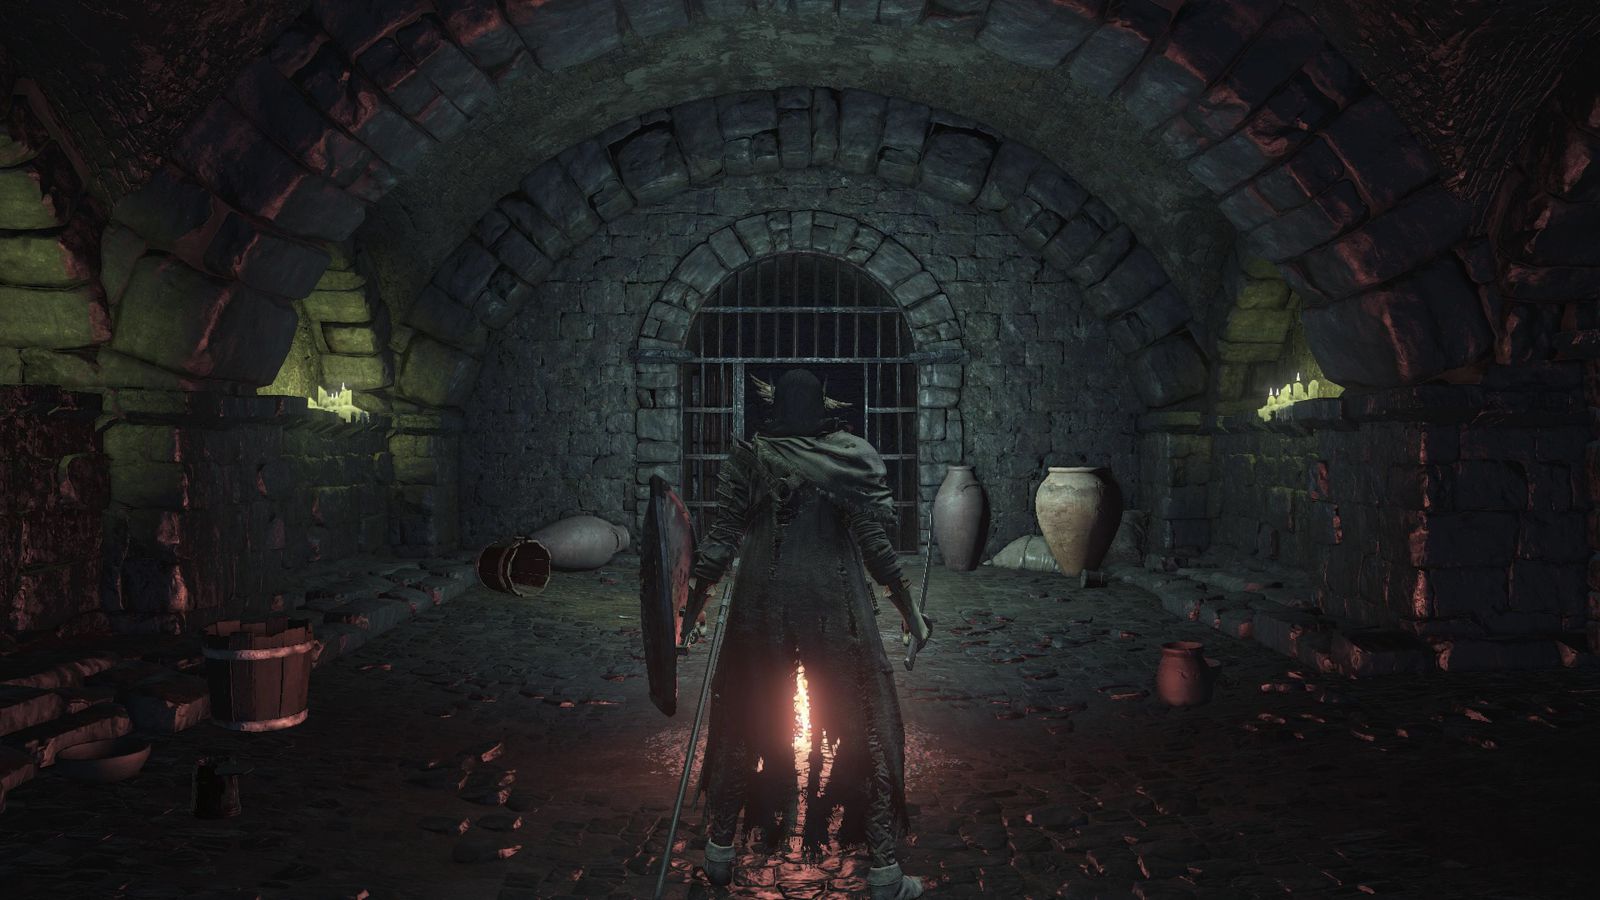
The final environment was created by thinking in a castle and how the dungeon would look from outside. I am really happy with that design and I do think there is nothing that I can add, maybe colour but it is well designed in my opinion.
Overall, I think the work is pretty good but in some ways it could have been better developed and created. Colour, shading or other small details could add a better feeling and a better ending to the drawings.

HA3 - Task 3 Final Illustration Presentation
Promotion Character


I wanted my character to have a simple and astonishing look, it could be described a Heart Breaker of the seas. long hair, blue eyes and radiant clothes. As well as being a dreadful and feared pirate.
Promotion Environment

This design appeals my style and I have chosen it because its meaningful, with this I mean that if you see the environment, you instantly perceive and see that it is a dungeon room. Something bad is a about to happen.
Promotion Props + Clothes

Props and equipment are simple but perfect. Flintlock pistol is a must for a pirate, old but magnificent design and style.
A pirate has to own a Cutlass, it is the iconic and feared sword of the seas.
For the card design I wanted something that had a relation with pirates, marine and the sea. I ended up with an anchor, this is the most common symbol that relates to the seas and pirates in general.

I wanted the clothing to shock, I wanted it to be radiant and magnificent. As mentioned earlier, he is a Heart Breaker, he need to look good as well as looking intimidating.
HA3 - Task 2 Development Studies
Exploration Process
Character + Hats, Bandannas and other possible clothing.
I started with simple designs of hats, belts and hair + bandanna.
Then I sketched a quick character.


Props were the second thing I created,
.


After I was done with simple stuff, I created the starting of a dungeon, simple rooms and entrances.


Thursday, 15 September 2016
HA3 - Task 1 Reference Research
Character Reference
For my character, I wanted something simple but appealing and attractive. By the description of Jonathyn I perceived his "Pirate" style, so I used different pirates styles and designs. The main influence was and still is Jack Sparrow, this is because is simple but keeps and attracts attention.

http://i.ndtvimg.com/i/2015-11/pirates-of-the-caribbean_640x480_41447300092.jpg
http://www.heromachine.com/wp-content/legacy/forum-image-uploads/saibotermacbarakasub-zero/2014/02/Pirate.png
http://briellecostumes.typepad.com/.a/6a0134804df3cb970c01b7c717e883970b-pi

https://s-media-cache-ak0.pinimg.com/originals/21/77/1a/21771a254997bd4f498c14c5615f4301.jpg
No matter if is complex or simple, the clothing must stand and has to be different than usual.

https://s-media-cache-ak0.pinimg.com/236x/d7/bb/6b/d7bb6b27ba73fb3159fbfd80e187adbd.jpg

https://s-media-cache-ak0.pinimg.com/originals/72/cc/de/72ccdebcff07fef84fb173a37fd138fb.jpg
I used this example to influence the jacket and the modern style at first, I have done changes since I used this influence but this was a good example that helped me at first.

http://www.deviantart.com/art/Pirate-210240016

http://www.deviantart.com/art/Blackfin-the-pirate-541551441
Props Reference
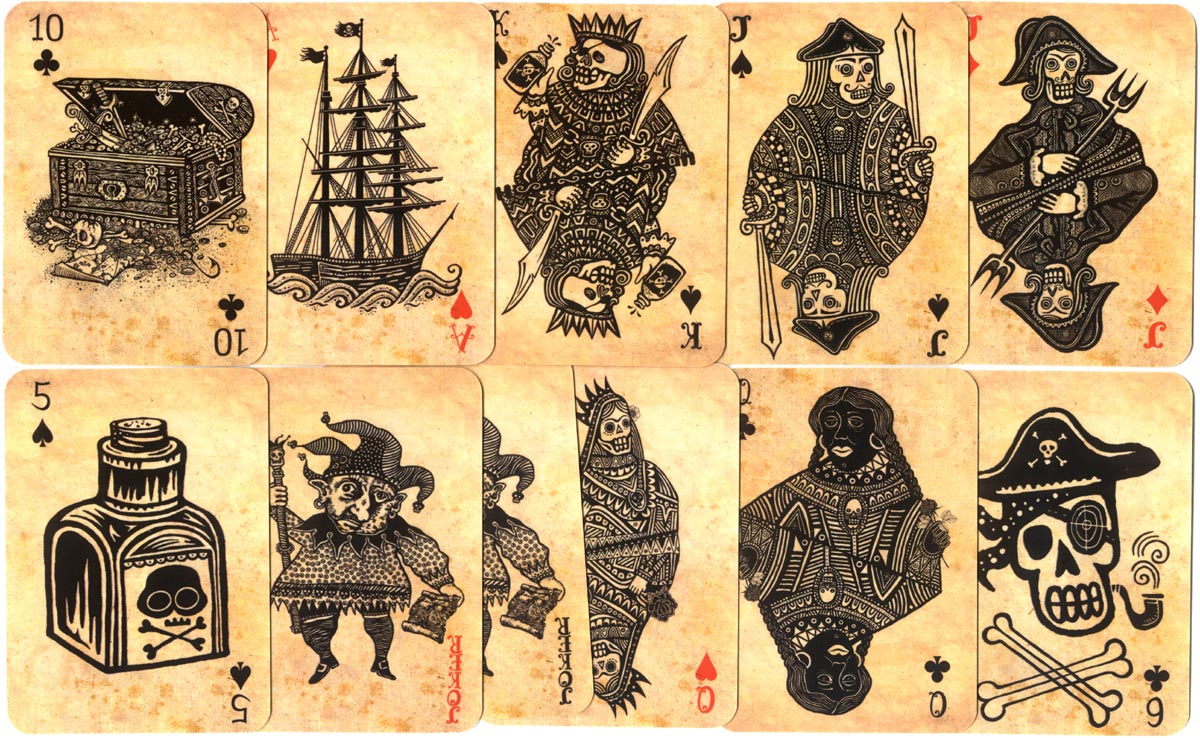
http://www.wopc.co.uk/images/countries/israel/pirates-2.jpg
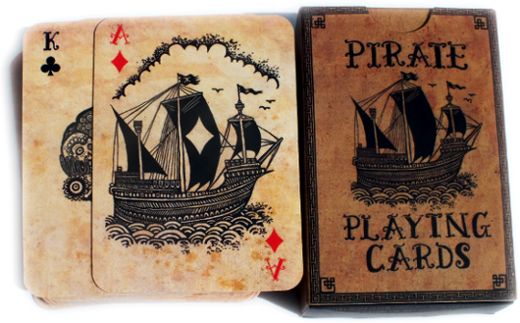
http://www.wopc.co.uk/images/countries/israel/pirates-box.jpg
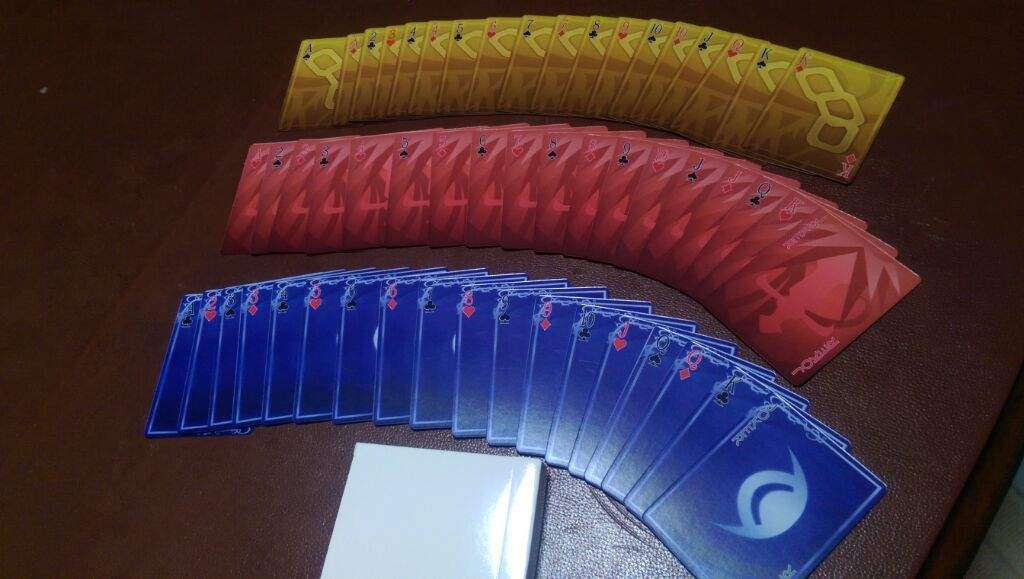
http://aminoapps.com/page/league-of-legends/5001210/twisted-fate-themed-playing-cards
For the card design I wanted something really simple but something that linked to Sea Travelling and Piracy.

https://www.thehemashop.com/media/catalog/product/cache/3/image/57d31c8ae5fca9c1ef8dfa86413b6737/1/2/120299.jpg

http://www.coldsteel-uk.com/store/1917-cutlass-88cs-full-1.jpg
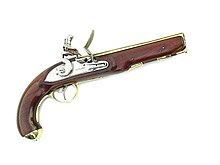
https://upload.wikimedia.org/wikipedia/commons/thumb/d/d1/Ketland1.jpg/220px-Ketland1.jpg

https://www.collegehillarsenal.com/shop/images/P/FHG-1208-Product.jpg
Environment Reference
https://cdn0.vox-cdn.com/thumbor/C0UepJXfX4inPK4cLKjto5rAFHo=/0x0:1920x1080/1600x900/cdn0.vox-cdn.com/uploads/chorus_image/image/49322769/Irithyll_Dungeon.0.0.jpg

http://www.ambient-mixer.com/images_template/7/b/2/7b2028f685cc67aaf723828e0fa7cadf_full.jpg
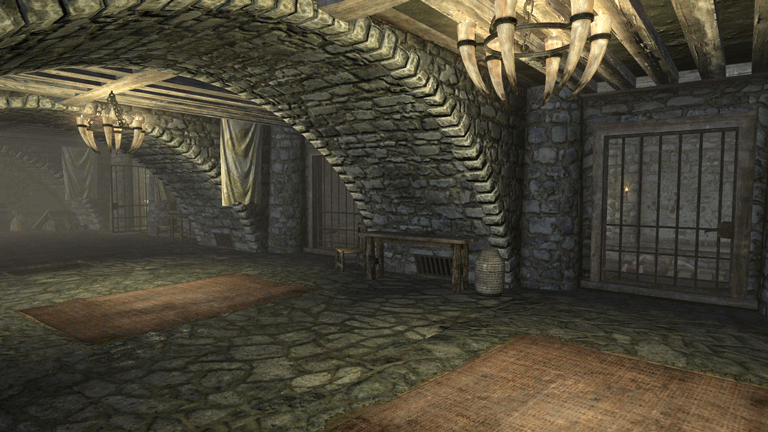
http://vignette1.wikia.nocookie.net/elderscrolls/images/f/f4/DRDungeon.png/revision/latest?cb=20120512225154
HA2 - Task 1 Concept Art Process
Concept Art Process
I will be talking about the different concept art stages and i will show different examples.
The examples will show an Object, an Environment and Anatomy (Character)
There are different Concept Art Stages, they are called:
Exploration:
(A brief explanation will be, that is the internal work)
In this stage the main purpose is to end up with some sketches and some "rudimentary"/simple ideas that can cover a wide range or genres or concepts.
http://fightingstreet.com/folders/artworkfolder/artworkpages/sf_art_pages/sfiv_art_pages/sfiv_pc_concept_art/sfiv_pc_concept_art.html

http://www.fightingstreet.com/folders/artworkfolder/artworkpages/sf_art_pages/sfiv_art_pages/sfiv_stages_concept_art.html

http://liyuconberma.deviantart.com/art/Concept-Art-of-Objects-Drawing-286288741
Approval:
(This will be work that will be showed to partners and bosses)
In the approval stage the artist will focus on an idea and improve it, if for example the idea is a character, the artist will cover a wide range of position, outfits, phrases, or any type of animation.
This is the stage in where the idea has to be selected so it can go through the final steps.

http://mis-yula.deviantart.com/art/Character-Concept-Art-528052625

http://polycount.com/discussion/142282/catell-ruz-dofus-descent-hearthstone-stuff

http://www.theconceptartblog.com/2014/05/23/artes-de-charlene-le-scanf-para-o-game-dofus/
Promotion:
(And this is the final product that will be showed to the public)
In promotion stage, artists focus on post-production processes and editing processes after having the final idea, this is when the product is showed to the public and is when we can see the concept art being added in for example posters or game portraits.

http://wowwiki.wikia.com/wiki/File:MalfurionFullHearthstone.png

http://conceptartworld.com/news/dragon-age-inquisition-environment-concept-art/
http://evo-wiki.com/media/concept-art/
HA1 - Task 1 Mark-Making Portfolio
HA1 Task 1 - Mark-making Portfolio
Anatomy
Exercise Number 1 - Direct Observation Portraits in Pairs
1. Full Face
Paper: Portrait
Media: Biro
Time: 4 minutes
Left-handed (or right, if left-handed)
Instruction:
Top of head/hair must touch the top edge of the paper, the chin the bottom and the ears each side. Draw loosely and freely adding as much detail as possible.

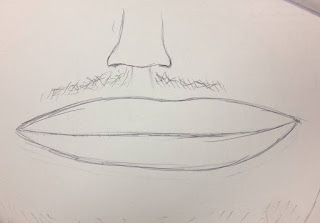
2. Smile
Paper: Landscape
Media: Biro
Time: 4 minutes
Usual drawing hand
Instruction:
Smiling mouth to stretch from left to right-hand side of paper. The rest of the features to fill within the page.

3. Don't Stop
Paper: portrait
Media: coloured marker pen – any colour
Time: 5 minutes
Usual drawing hand
Instruction:
Draw a full face portrait that fills the page, but you may not take the pen off the paper at any point.


4. Blind-folded
Paper: Portrait
Media: Coloured marker pen – any colour
Usual drawing hand
Instruction:
Stare at your subject intently and draw a full face portrait. Do not look at the paper until the time is up.


Exercise Number 2 - Secondary Observation (Selfie) Self-portraits
Take a range of selfies, exploring the expressions below. Choose 6 and take approximately 15 minutes for each one.
Expressions: Happy, Excited, Gloomy, Angry, Confused, Serious

Exercise Number 3 - Manga Facial Expressions
Using the following YouTube Tutorial I have drawn 2 facial expressions using a Manga drawing style.
Facial expressions: Joy, Expressions.


Exercise Number 4 - Gridded and Scaled Parkour Drawing
In this exercise we used a image that shows a Character from a Parkour as a reference, using the gridding technique I transferred the small A4 reference into a larger image in an A2.

Exercise Number 5 - Template Mythical Creature Drawing
Using secondary template create a coloured freehand mythical creatures made up of the following elements:
Head of a peacock
Wings of a bat
Torso of a Man
Crab Claws
Legs of a Cheetah
Feet of an Eagle

Exercise Number 6 - Expressive Hands Drawing
Using primary observation do the following drawing of your Non-drawing hand:
Anger
Stop
OK
Peace

Exercise Number 7 - Figure Movement Sequence Drawing
Using secondary observation I have done the following activity.
The DSLR camera will be set on multi-shot mode and will capture the movements of myself using the props provided.
After selecting the pictures trace over them.


Exercise Number 8 - Silhouette Figures Drawing
Using a series of dark felt pens, produce a series of figure drawing observed from life that study the pose of the model.
The negative space around the figure is the only thing that has to be drawn, (Not an outline), leaving a silhouette.

Perspective
Exercise Number 1 - Isometric, One, Two and Three Point Perspective Introduction
Introduction of perspective.
Isometric

One-Point

Two-Point
Three-Point

Exercise Number 5 - Template Mythical Creature Drawing
Using secondary template create a coloured freehand mythical creatures made up of the following elements:
Head of a peacock
Wings of a bat
Torso of a Man
Crab Claws
Legs of a Cheetah
Feet of an Eagle

Using primary observation do the following drawing of your Non-drawing hand:
Anger
Stop
OK
Peace

Exercise Number 7 - Figure Movement Sequence Drawing
Using secondary observation I have done the following activity.
The DSLR camera will be set on multi-shot mode and will capture the movements of myself using the props provided.
After selecting the pictures trace over them.


Exercise Number 8 - Silhouette Figures Drawing
Using a series of dark felt pens, produce a series of figure drawing observed from life that study the pose of the model.
The negative space around the figure is the only thing that has to be drawn, (Not an outline), leaving a silhouette.

Perspective
Exercise Number 1 - Isometric, One, Two and Three Point Perspective Introduction
Introduction of perspective.
Isometric

One-Point


Three-Point

Exercise Number 2 - 2-point Perspective Background - Spacestation Video
Using the YouTube tutorial create your own Spacestation using 2-Point Perspective

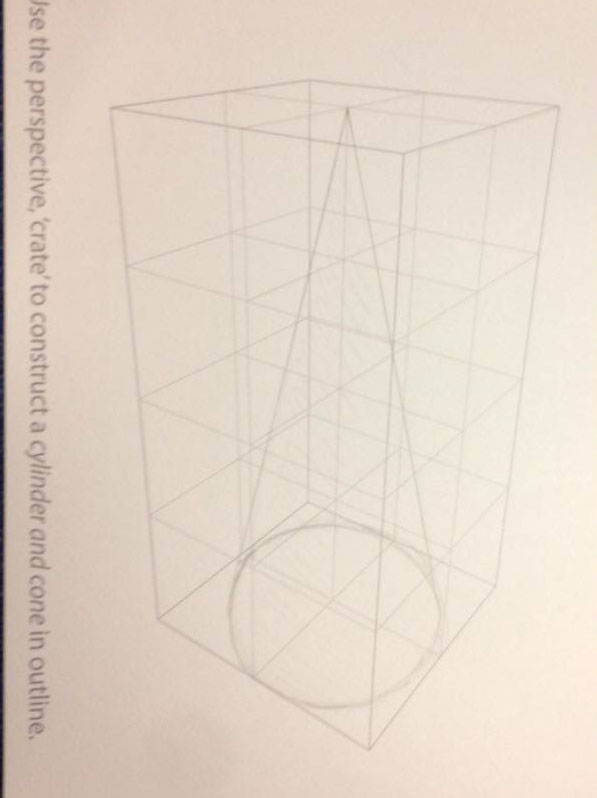
Exercise Number 3 - Crating Exercises
Using the supplied templates use a crating technique to build a variety of 3D shapes:
Sphere, Pyramid, Cylinder, Cone, Torus


Exercise Number 4 - Crating Application
Using supplies images and a physical pistol as a starting point employ a 2-point perspective crating technique to create your own design of weapon.
Instead of a pistol I have designed a Katana for the Crating application.

Colour
Exercise 1 - Colour Introduction
1. Colour Wheel
Using primary coloured pencils and a cross-hatching technique, complete the colour wheel template. Then idea is to mix the secondary and tertiary colours by overlapping/blending the primary colours.

2. Colour Schemes
Using a full range of coloured markers, decide upon an analogous, complementary and triadic colour scheme and complete the supplied templates.


Ideas Generation
Exercise 1 - Alternative uses for cloth pegs

Visual Communication
Exercise number 1 - How to guide
Create a guide that explains an activity using only images and symbols – NO WORDS. You will need to use the internet to research your chosen activity, both the process and visual aids. Use an A3 sheet to layout your sequence of images. Plan and sketch out your sequence in pencil and then outline it using a biro or fineliner (and coloured pencils or pens if you wish).

Objects
Exercise Number 1 - Paper Tonal Studies
Using the supplied rolls of paper create still life environments and produce a series of four, close-up tonal observational studies of paper constructions using pencil in response to the following themes: Tied, Twisted, Folded, Curled.

Textures
Exercise Number 1 - Willow Charcoal, Soft and Oil Pastels
You are going to draw a series of 9 textures (closely observed abstracted sections of surfaces) from around the college site, three using soft pastels, three using oil pastels and three using willow charcoal. Fold 1 A3 sheet of cartridge paper into 9 to use as your canvas.

Subscribe to:
Comments (Atom)